How to Prep Your Nails for Acrylics – A Complete Guide
Why Proper Nail Preparation Is Important
Before we get started, it’s good to know that nail preparation does more than make acrylics look pretty—it helps prevent lifting, breakage, and germs. Clean, flat nails help acrylics adhere better to your real nails, last longer, and keep nails strong.
Steps To Effectively Prep Your Nails:
Step 1: Remove Old Nail Polish/Art
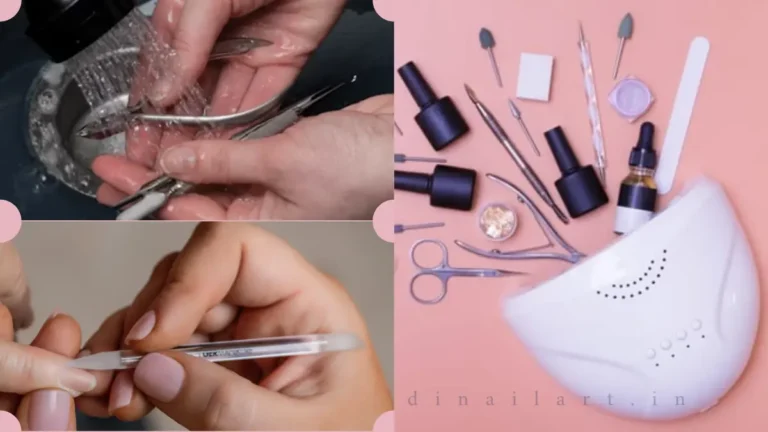
First, remove any old polish or nail art. You need a clean base before you start again. Take a cotton ball and dip it in nail polish remover. Rub your nails until all the polish is gone. This prevents bumps and helps your upcoming nail art stick better. If you have gel, dip, or acrylic nails, soak them for 10 to 15 minutes before removing the polish.
Step 2: Trim And Shape Your Nails
Use nail clippers to trim your nails if needed. Keep them short but not too short (leave a little white tip). Use a soft nail file to smooth the edges. If you see dead skin, use a sharp tool to cut it off.
Some nail technicians do the steps differently. Some start by pushing back the cuticles, others soak their hands first. The steps may vary, but the goal is the same: prepare your nails for your new design.
Step 3: Buff The Surface Of Your Nails
Buff your nails using a soft buffer. Buffing helps the polish or tips adhere better. Don’t buff too hard. It can make the nails weak and difficult to polish.
Step 4: Soak Your Nails
Next, soak your nails. Use warm water and add a little soap. This helps soften the skin and clean dirt and oils from your nails.
Step 5. Trim Or Push Back Your Cuticles
Push back the skin to show the cuticles and wipe off any dry skin. Some places, like the US, have rules about how much cuticles you can trim. It also depends on the client’s preference.
You can use a safe drill bit to clean your cuticles without damaging your nails or skin. Pushing your cuticles back will help your design last longer.
Option 1: Trim. Use a small cutter to trim your cuticles. Just cut the free edge. If you don’t know how – you could damage your skin or get germs.
Option 2: Push back. If they are new, gently push back your cuticles using a soft stick. Don’t press too hard. This can damage your nails. You can also cut your hangnails, but do it slowly and safely.
Step 6: Moisturize Your Nails
Rub a hand cream or oil on your nails and skin. This keeps the skin soft and moisturized. Wait at least 30 minutes before starting to work on your nails. This allows the cream to absorb better.
Step 7: Make Sure Your Nails Are Clean And Dry
After the care steps, make sure your nails are dry. Even if the cream looks dry, it can still prevent the polish from sticking. Clean your nails again with remover to clean off any oil.
Step 8: Apply a primer or base coat
Finally, apply a clear base coat or soft primer. This helps remove any oil or dirt and helps the polish stick better. If you are using only polish, a base coat is enough. After painting, you can also use a top coat to finish.
Why Is Nail Prep Important?
If you do your nails too quickly, they won’t last; it’s important to be prepared for all nail work. If you want to avoid problems like nail lifting, marks, or germs, you need to prep your nails well.
You need to help your nails stay strong and last longer, so your clients love them and keep coming back.
Common Mistakes To Avoid During Acrylic Nail Prep
- Leaving a nail dryer or primer: This can cause the nails to lift and not adhere well.
- Touching the nails after cleaning: Even a little oil on the skin can prevent the product from adhering.
- Over-filing or buffing: This can cause the nails to thin and become painful over time.
Also Read: Effective Tips to Sanitize Your Nail & Beauty Tools at Home